When launching an app, the marketing strategy is a critical consideration, second only to ensuring the app’s functionality. An effective marketing plan requires a strategic approach and a comprehensive task checklist.
Here are some key steps and a pre-launch checklist to consider when preparing your mobile app for launch.
Avoiding oversights is essential, especially amidst the flurry of activities such as final rounds of app testing and press kit design. A well-documented launch strategy can help your team stay on track during the hectic pre-release period.
A meticulously planned app launch is your opportunity to make a lasting impression on potential users and initiate your journey on a high note. By investing effort and consideration into the planning stage, you pave the way for increased downloads, positive reviews, and sustained user engagement, all of which contribute to significant growth.
An app launch checklist acts as a guide, ensuring no critical steps are missed during a new app’s launch. It provides a systematic approach to maximizing and mitigating the app’s potential risks.
The Checklist For Your App Launch
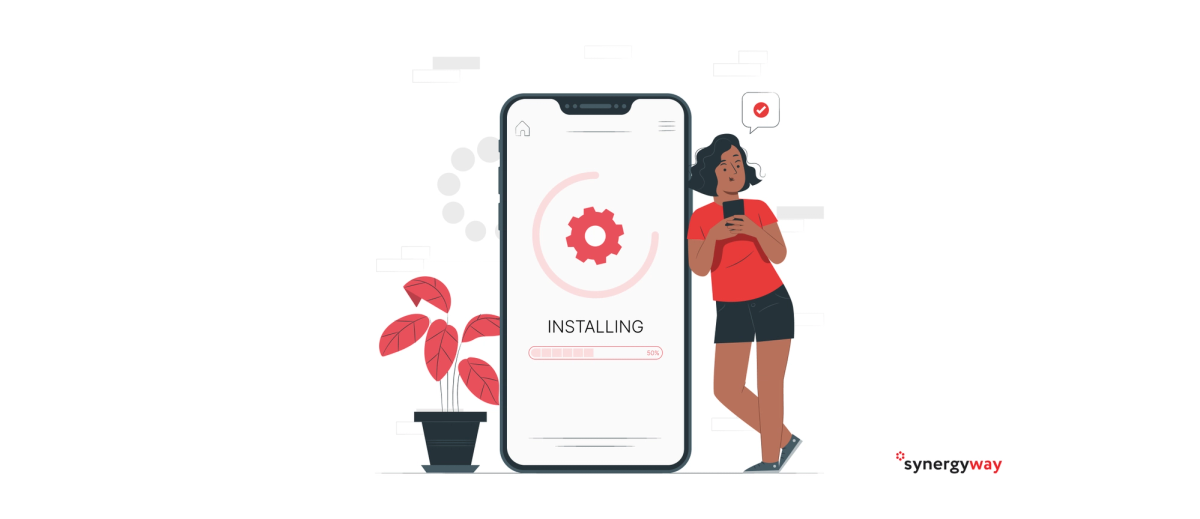
1. Beta-Testing
Beta testing is a crucial step in the app development process. A pre-release version is shared with a group of representative users. Their feedback on the app’s functionality, usability, and any issues they encounter allows for bug identification, user experience optimization, and feature refinement before the official launch.
What does beta testing mean?
Mobile app beta testing involves giving a group of target users access to your app to test and evaluate its performance. It’s like performers conducting a dress rehearsal before a big show to smooth out rough edges before launching to a broader audience. The purpose is to ensure that everything runs smoothly when the curtain rises.
Ideally, beta testing should occur when there’s still enough time in the development cycle to make meaningful changes based on the feedback, but close enough to the launch to reflect the final product accurately.
What is examined in beta testing?
Here are some key areas that are tested:
- Feature suitability
- Performance and speed
- Technical stability
- Real-world adaptability
- Hidden bugs
- Localization nuances
- Scalability
Why is beta testing important?
In a nutshell, beta testing is important because it:
- Prioritizes customer needs
- Reduces product failure risk
- Tests post-launch infrastructure
- Identifies overlooked bugs
- Enhances product quality
- Increases customer satisfaction
A dedicated Quality Assurance (QA) team can enhance this process, ensuring rigorous testing and contributing to a polished, reliable app that meets user expectations. This collaborative approach is key to delivering a high-quality product. In today’s competitive market, beta testing provides invaluable insights into the app’s real-world performance.
2. Process Feedback
It is crucial to operationalize all feedback collected from your target users. Otherwise, you risk alienating early adopters and new users. If you’ve received a lot of feedback, the best way to process it is by categorizing it as follows:
- Design issues (e.g., missing buttons or navigation issues). Your UX designer should address these issues.
- Performance issues (e.g., freezing screens, frequent crashes). These should be passed on to your app developers for resolution.
- General complaints and suggestions (e.g., high pricing, low clicks on key CTAs, feature requests). These should be discussed with your product team to devise potential solutions.
When processing general feedback, consider each suggestion from different perspectives, such as the difficulty of implementation, the number of users who will benefit, and whether the suggestion aligns with your broader product vision.

As Steve Jobs famously said, “People don’t know what they want until you show it to them.” Therefore, avoid rushing to implement every suggestion. Instead, prioritize fixing critical issues and postpone major product decisions until after launch, when you’ll have more representative data to guide your decisions. Address all design, technical, and marketing issues that limit your app downloads.
3. Pre-Launch Landing Page
It’s never too early to generate a buzz for your mobile app. Generating interest and excitement for your mobile app can start as early as the pre-launch phase. There are several best practices to consider when creating a pre-launch landing page that can effectively pique the interest of your target audience:
- Create a visually appealing, straightforward landing page highlighting your app’s features, screenshots, and launch date.
- Invite potential users to sign up for launch notifications.
- Include social media sharing tools to encourage fans to recommend your app to others.
When it comes to your App Store landing page, it can make or break your app’s success. Before launching, it’s crucial to have a well-defined marketing strategy that covers:
- Choosing between iOS and Android platforms.
- Writing a clear and concise app description along with a comprehensive feature list.
- Identifying your target audience.
- Incorporating localization and translation if necessary.
- Deciding between a free or paid app.
- Ensuring easy access to customer support.
4. Prepare an App Store Listing
When your app appears in an app store, it’s officially launched. For Android apps, this is the Google Play store, and for iOS apps, it’s the Apple App Store.
Selecting the Right App Store and Platform
Choose the app store that suits your development and launch plans best, considering aspects like trustworthiness and user reach. Usually, Android and iOS are the go-to platforms, but the best choice for you depends on the audience you’re targeting and your business goals.
Here’s a quick guide on how to get your app listed in the app stores.
Apple App Store App Submission Checklist
To have your iOS app approved by Apple, go through the following steps:
- If you haven’t done so, join the Apple Developer Program for $99 annually.
- Make sure your app adheres to all the App Store guidelines. Non-compliance, particularly regarding metadata, user privacy, and software requirements, will result in your app being rejected.
- Prepare the creative elements for your App Store page. You’ll need to provide the following:
- App title — the name of your product and an optional longer description.
- A mobile app description of up to 4000 characters.
- Keywords that describe your product.
- App category — choose from a list of 23 pre-suggested options. Gaming apps also require a sub-category.
- Price tier for your app.
- An app icon of a specific size: 1024 by 1024 pixels with at least 72 DPI in the RGB color space.
- Up to five app screenshots, as per these specifications.
- An optional app preview video – Apple provides comprehensive guidelines for creating these videos.
- Your contact information.
- URLs for marketing and support.
- Your privacy policy.
- The End User License Agreement (EULA) — Apple offers a default one.
- Log into App Store Connect and navigate the My Apps menu to add your new mobile app.
- Complete all the app registration steps by providing the information above and other details.
- Decide how your mobile app should be released after it’s reviewed, for example, immediately, automatically on a specific date, or manually when you authorize app publishing.
- Upload your app version to Apple Store Connect using one of the upload tools available.
- If you’ve done this before, ensure you submit the correct build version (i.e., not your beta version).
- Wait for your app to be approved. Most new app submissions (90%) get reviewed and approved within a day.
- Once your mobile app is approved, you can refine your listing and set the app launch date.
For more information, consult the official Apple app review guidelines.
Google Play App Submission Checklist
To get your Android app approved by Google, follow these steps:
Firstly, register for a Google Play Console account if you haven’t already. It’s a one-time cost of $25.
Set up a merchant wallet if you plan to monetize with in-app purchases. It will be automatically linked to your Google Play Console account.
Next, go to the All Applications tab and select “Create application” to start the mobile app registration process.
Prepare your creative assets for your Play Store page. For Android apps, you’ll need:
- An app title includes the product name and possibly a longer description.
- Mobile app descriptions, with a short version of up to 80 characters and a full description of up to 4000 characters.
- An app icon in 512 x 512px 32-bit PNG with transparency.
- App screenshots (between 2 and 8). They must be JPEG or 24-bit PNG (no alpha) with a minimum length for any side of 320px and a maximum length for any side of 3840px.
- A featured app image is displayed at the top of your app listing. This image should be 1024 x 500px JPG or 24-bit PNG (no alpha).
- Optionally, an app demo video.
- Contact details.
- Pricing information.
- Privacy policy.
Upload your mobile app version to Google Play Console.
Go to Release Management, then the App Release tab. Decide on the type of release you’re doing, and then click Create Release. Follow the provided instructions to upload your app as an app bundle or APK.
Fill out a Content Rating questionnaire.
In the Pricing and Distribution tab, adjust your app price and select where it should be released. Google doesn’t auto-release your product worldwide.
Finalize all configurations and submit your mobile app for release via the App Releases tab.
Google states that the app review process will take 7 days at the longest. However, it’s typically faster in most cases.
For more information, refer to the official publishing documentation for Android apps.
5. Set up a User Referral Program
App launches often do well, thanks to referral programs. These programs reward users who recommend your app to others.
Just a quick note: Referral programs are most effective for free apps that make money from in-app purchases or services.
Here’s how you can create a successful referral program in your app:
- Decide what counts as a successful referral. This could be a combination of downloading the app and registering an account or something more.
- Choose a reward that matches the effort you’re asking for. For example, if you’re asking referred users to take several steps (like registering an account, verifying their details, adding money to the app, and so on), consider offering a larger reward like a cash bonus or premium features.
- Make the referral process fun by creating a reward system with different levels. This can motivate your biggest fans to refer more people to your app for special rewards.
- Send notifications to all app users about the referral program. Also, use other marketing methods (like email or splash screens) to keep the program visible.
- Set a time limit on the referral program to encourage faster user sign-ups.
6. Improving Your App Store Appearance (ASO)
Make your app store listing better using the right words, attractive pictures, and interesting descriptions.
- Find the best keywords for your app. Use these words in your app’s title, subtitle, keyword field, and description to make it easy to find.
- Write interesting and helpful descriptions that show what’s special about your app.
- Use great screenshots and videos to show how your app works.
- Test different pictures to see which ones attract the most users.
- Regularly check user feedback and reviews to find and fix any problems.
- Keep up-to-date with app store platform changes to keep improving your app store appearance.
7. Analytics and Tracking Setup
Setting up analytics isn’t just about looking at numbers; it’s about getting to know your users better. You can learn a lot from their behavior, find out where they’re coming from, and track key measures to help your app succeed.
Here’s what you can learn:
- User Behavior: Find out how users are using your app. See what keeps them interested, where they lose interest, and what features they like the most.
- Where Users Come From: Find out where your most valuable users are coming from. Is it from searching online, social media, or referrals? This can help you improve your marketing efforts.
- Improving Your Conversion Rate: Follow your users’ journey and spot any roadblocks. Use this data to improve the user experience and get more conversions.
- Monitoring Performance: Monitor your app’s speed and functionality. Look for problem areas that could be improved for a better user experience.
8. Nurture Your App’s Growth
After your app is launched, it’s important to help it grow. Here’s what you need to do:
- Get Feedback: Make it easy for users to tell you what they think about your app. Listen to their ideas and fix any problems.
- Be Great at Customer Support: Answer questions quickly and help users with problems. Happy users will use your app more and tell their friends about it.
- Update Often: Keep your app new and exciting by adding new things and fixing any problems. Change your app as your users’ needs change.
- Create a Community: Let your users talk to each other about your app. Share helpful information and let users help each other.
- Watch Your Performance: Keep an eye on how well your app is doing and fix any problems quickly. Make sure your app is fast and works well.
- Follow the Rules: Ensure that your app follows all the rules and keeps user data safe. Check often to ensure that you’re still following the rules and keeping your legal papers up to date.
Follow important laws, such as protecting user data, getting the licenses you need, and protecting your ideas with patents or copyrights. Keep updating your legal papers to match law changes or how you do business. This helps protect you from others using your work without permission.
Wrapping Up
There’s no one-size-fits-all method for launching a successful mobile app. You need to develop a strategy that combines your team’s well-known best practices and unique approaches. Success comes from good planning, effective execution, and constant improvement.
Our detailed checklist will guide you to a smooth app launch. Remember, it’s vital to keep learning and adjusting even after the app launch, as the digital landscape is always evolving.
If you’re ready to discuss your idea with our expert team, contact us!